Follow these tips to ensure the proper long-term storage of grains
12/05/2018 / By Mary Miller
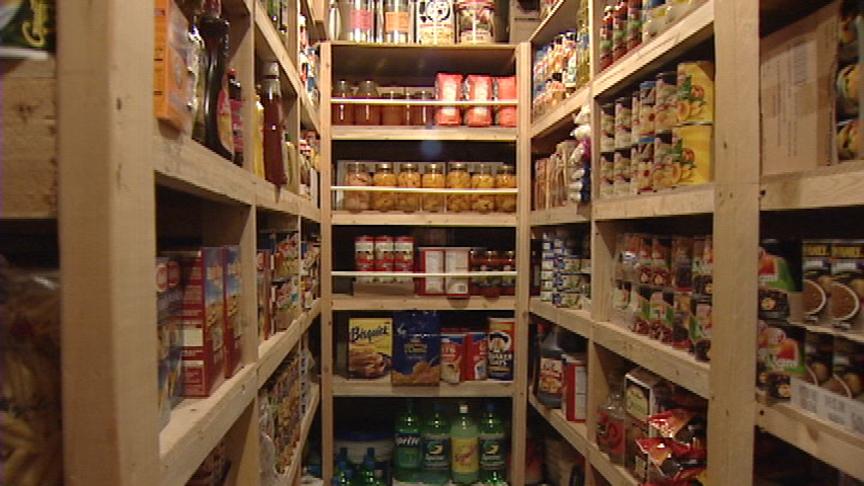
Grains make for an ideal survival food due to their long shelf life. Stocking up on grains can be useful in case SHTF. However, there is no point in stockpiling large amounts of grain if you don’t know how to properly store them. Here is a survival guide on how to properly store grain for long-term use. (h/t to ReadyNutrition.com)
As a staple food, grains can be an inexpensive addition to your emergency food supply, but storing them isn’t as simple as purchasing a sack of rice and throwing it into the pantry. That is a surefire way to leave your grain vulnerable to pests and the elements, such as moisture and oxygen.
Storing grain can be a worthwhile investment when it is done right. You can even grow your own grains while you’re at it. There are many factors to consider when it comes to storing grain, such as the type of grain, the materials needed for proper storage, and a suitable storage area. (Related: It’s not as difficult as you think: How to grow grains in your own backyard.)
Grain selection
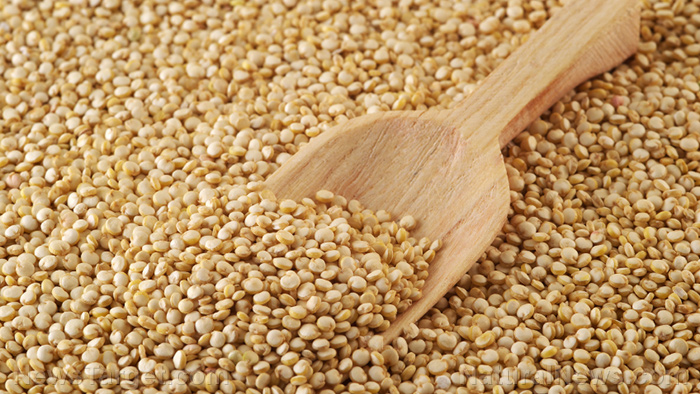
Start by finding out which grains are most suitable for long-term storage. Some grains have longer shelf lives than others. For example, due to their processing method, brown rice, pot barley, and pearl barley can quickly go bad in as little as four to six months. You can choose from a wide variety of soft grains and hard grains, depending on how long you plan to store them.
- Soft grains. Some examples of soft grains include oats (hulled, pearled, and rolled), rye and quinoa. These soft grains have an average shelf life of eight years when stored properly, but given the right conditions, it is possible to make them last up to 20 years.
- Hard grains. Hard grains tend to last even longer than soft grains. Examples of hard grains include buckwheat, corn, flax, mullet, kamut, wheat (durum, hard red, hard white, soft, and special bake), spelt, and triticale. Their average shelf life is around 10 to 12 years, but with proper storage, this can be extended up to 30 years. Hard grains are the survival foods you can keep with you when TEOTWAWKI happens.
Materials for proper grain storage
If you want to extend the shelf life of your grains, you will need these items:
- Food-grade buckets. Most grains purchased in bulk typically already come in a food bucket. Local restaurants tend to discard their food buckets, so you might be able to get some for free if you ask for them. If not, you can normally purchase food-grade buckets at your local hardware store.
- Five-gallon food storage bags. You don’t want to just fill your buckets with grain and leave them at that. Grain must first be kept in sealed food storage bags before being placed inside food-grade buckets. Mylar bags are more suitable for packaging grains than regular plastic bags. They can provide an extra barrier to protect your grain against light and moisture.
- Vacuum sealer or heat sealer. Use the vacuum sealer to seal your Mylar bags so that the grains inside them are exposed to as little oxygen as possible. If you don’t have a heat sealer, a hair straightener will do as a temporary solution.
- Oxygen absorbers. Oxygen absorbers extend the shelf life of your food items by limiting the air around them.
Procedure for storing grains
- Find a dark and dry area in your home that has a temperature of around 62-68 F.
- Place the food storage bag inside a food-grade bucket.
- Fill the food storage bag with grain.
- Once the bag is almost full, add in one oxygen absorber.
- Squeeze the excess air out of your bag.
- Seal the bag using a heat or vacuum sealer.
- Cover your food-grade bucket with its lid. Make sure it’s sealed tightly by hammering it down with a rubber mallet.
- Repeat all the steps until you have properly stored all your grain.
Find more tips on proper food storage for when SHTF at FoodStorage.news.
Sources include:
Tagged Under: bug out, emergency foot, food prepping, Food storage, food supply, grain storage, grains, homesteading, how-to, off grid, Off-the-grid living, preparedness, prepper, prepping, SHTF, survival, survival food, survival gear, survivalist, sustainable living, wheat